iOS Receive
When you begin receiving inventory on a purchase order you created in the system, you will mark that inventory as received on the Receive screen. This screen allows you to select which purchase order you are receiving on and to mark individual items on that purchase order as received into a specific location. You can also optionally view costing information on this screen.
Also, refer to Ordering Settings to turn on or off the receive order related settings.
Site-Item/Category Restrictions
While receiving the order, if the item to be received (in the queue) falls in the Order Site-Item/category restrictions, then a warning message will appear and on hovering it will show a message indicating that "Item category is not allowed at the site.” and the location field will be restricted i.e. it will not display or allow to select the location.
Receive Inventory
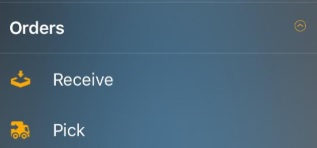
- Select Orders > Receive.
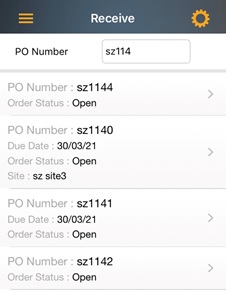
- The Receive screen will appear. This screen allows you to search for the purchase order from which you want to receive inventory.
- With Site Restrictions Enabled on Web (Manage > Roles > Site Restrictions) - The user will only see the Global Purchase Orders which are not assigned to any site as well as those Local Purchase Order assigned to a site where the user has access.
- With Working Sites Enabled - The user will see the Purchase Orders available in the allowed sites. Also, they can find other Purchase Orders by typing the exact Purchase Order number/name provided the number/name should be the exact match and is within the site permissions.
- Tap on the PO Number. It will navigate to a page where it will list all the Item number under the selected PO Number.
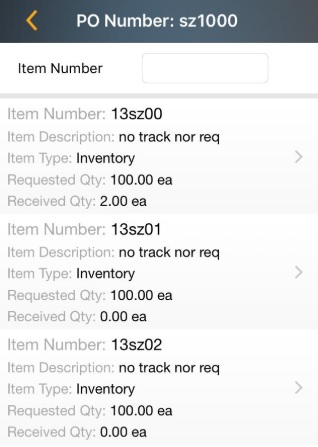
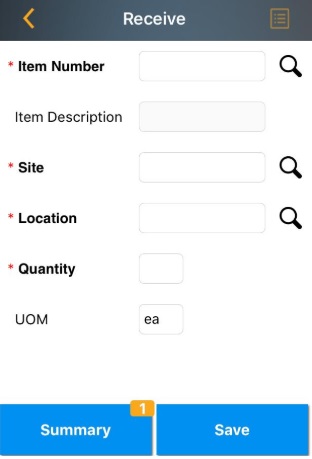
- The Receive screen will appear.
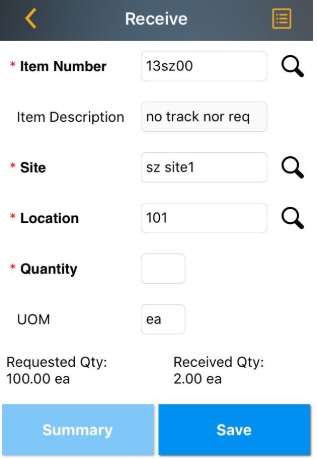
- Update the fields that needs a change.
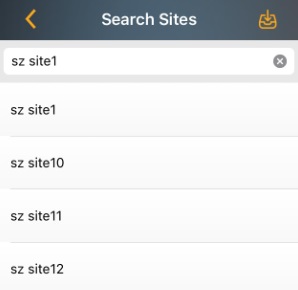
- Select the Site in the site field. The Site can be added by clicking on the search button next to the field. Click on the search button, the screen will navigate to the Search Sites screen where you can search and add the Site. Note: The site name will be auto populated based on the priority Primary location, Site on the order, or Working site.
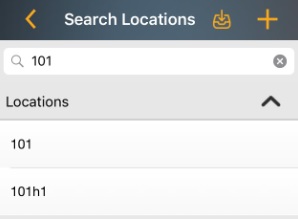
- Select the Location in the location field. The location can be added by clicking on the search button next to the field. Click on the search button, the screen will navigate to the Search Location screen where you can search and add the location. You can also add a new location by clicking on the '+' symbol on the Search Locations screen.
- Enter the Quantity you are receiving. The Requested Quantity and Received Quantity appear below the Quantity field. Note: If this item has any trackbys set (serial number, date code, pallet, etc.), you will required to enter those. If this item is tracked by Serial Number, the quantity is limited to 1.
- Tap on Save.
- Once you tap on Save, a number will appear on the Summary button. This is the number of Receive Transactions you have performed. You can keep adding inventory to different items as needed.
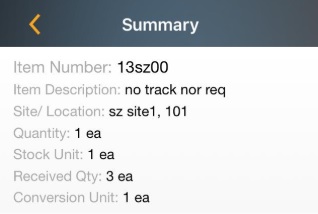
When you are done, click on the Summary
button. The Summary screen appears
listing all the Receive transactions.