Add Container Quantity
Note: The container feature is scheduled for a future release. Access to this feature may only be available with the ‘Complete’ edition. Ask your Wasp representative for details.
The Add Container Quantity screen allows you to add quantities for new container types in the system. After configuration, you can begin using the containers immediately by enabling tracking and assigning each a Container ID. The user's role should have container permission enabled to use this feature.
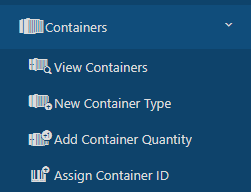
- To add container quantity, click on the Add Container Quantity.
- On the Add Container Quantity screen, enter the following details:
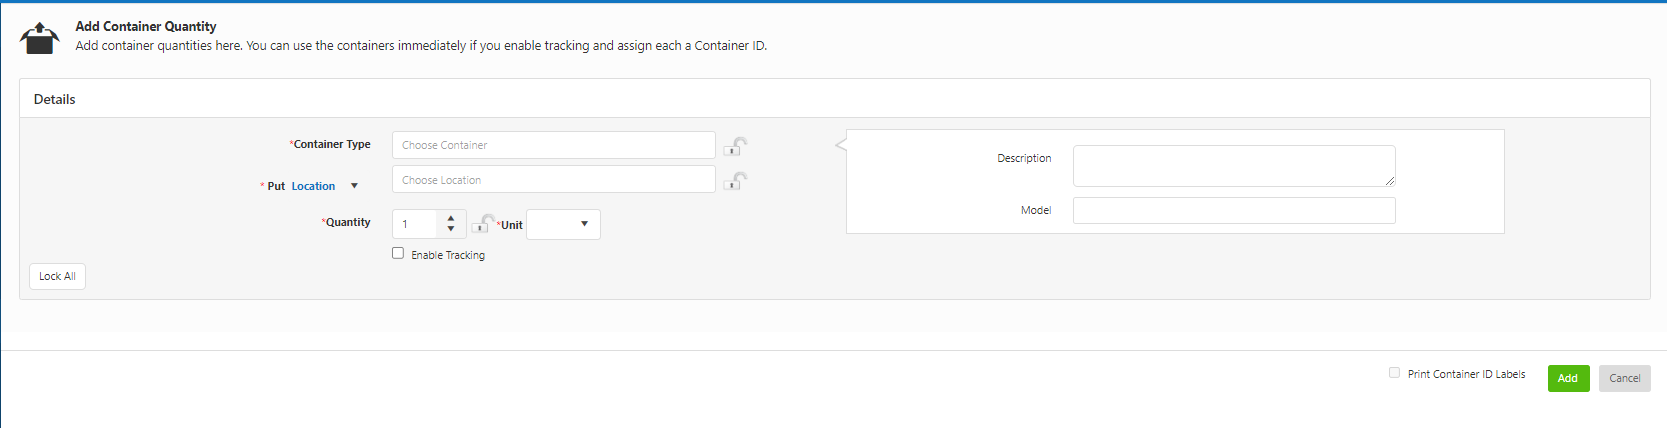
- Container Type - Select the container type. The container type is added in the New Container Type screen.
- Description and Model - This information will automatically populate when you select the container type and is read-only.
- Put Location/Container - Select the location/container. Choose the current location or container.
- Quantity - Enter the quantities: Specify the number of containers.
- Unit - Select the unit. Choose the unit of measurement.
- Enable Tracking - Click on the "Enable Tracking" checkbox to enable tracking and generate the Container ID.
- Container ID - The Container ID field appears on the screen only if the quantity is one. If the quantity is more than one, the Container ID will be shown on the Tracking Details screen.
- Auto generated Container ID - If the "Auto Generate Container ID" checkbox is checked while creating the container type on the New or Edit Container Type screen, the Container ID field will be read-only and display "Auto generated". You can manually add the Container ID by clicking on the edit pen icon, which enables the field.
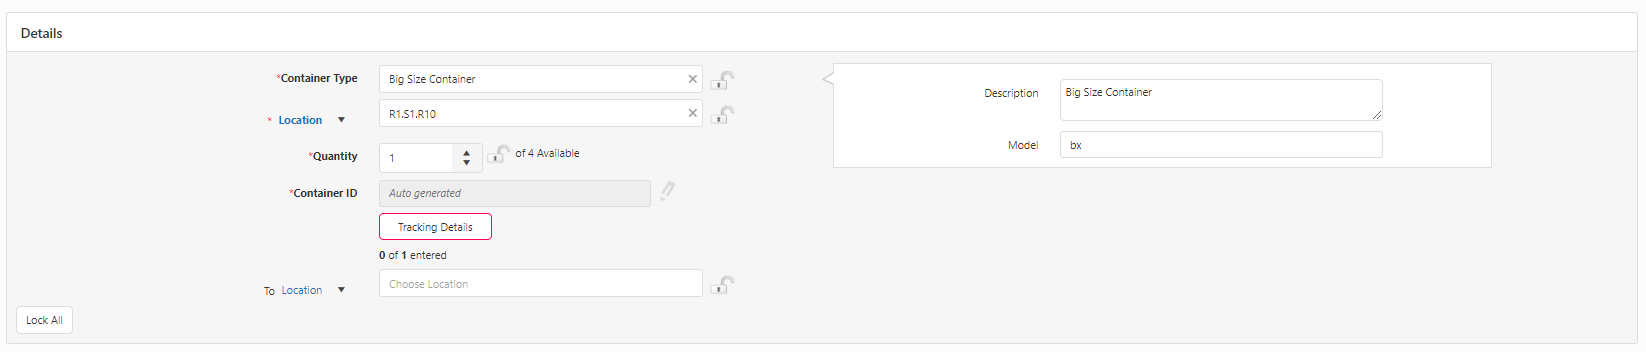
- Single Quantity - For a single quantity, you can add the Container ID directly on the screen by clicking the pen icon or by selecting the Tracking Details button. In the Tracking Details screen, you can update the tracking information.
- Multiple Quantities - A Tracking Details button will appear next to the Container ID field if the quantity is more than one. On the Tracking Details screen, you can either select an automatically assigned Container ID or manually enter it.
- Manual Container ID - If the "Auto Generate Container ID" checkbox is unchecked while creating the container type, the Container ID field will not be read-only and will not display "Auto generated". You will need to manually add the Container ID.

- Single Quantity - For a single quantity, the Container ID can be added directly on the screen.
- Multiple Quantities - A Tracking Details button will appear next to the Container ID field if the quantity is more than one. On the Tracking Details screen, you can manually enter the Container ID.
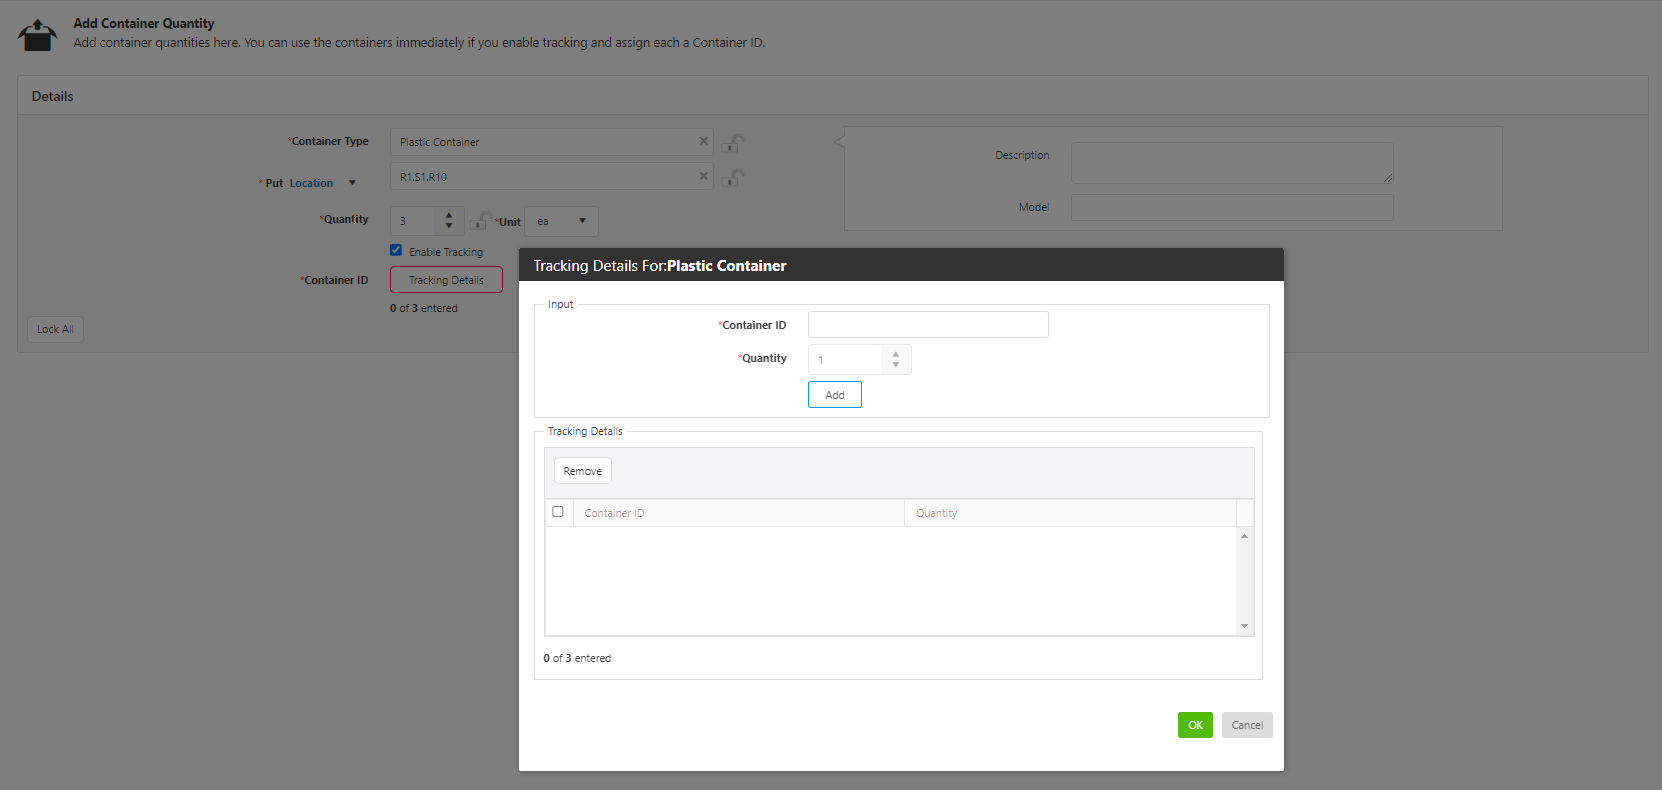
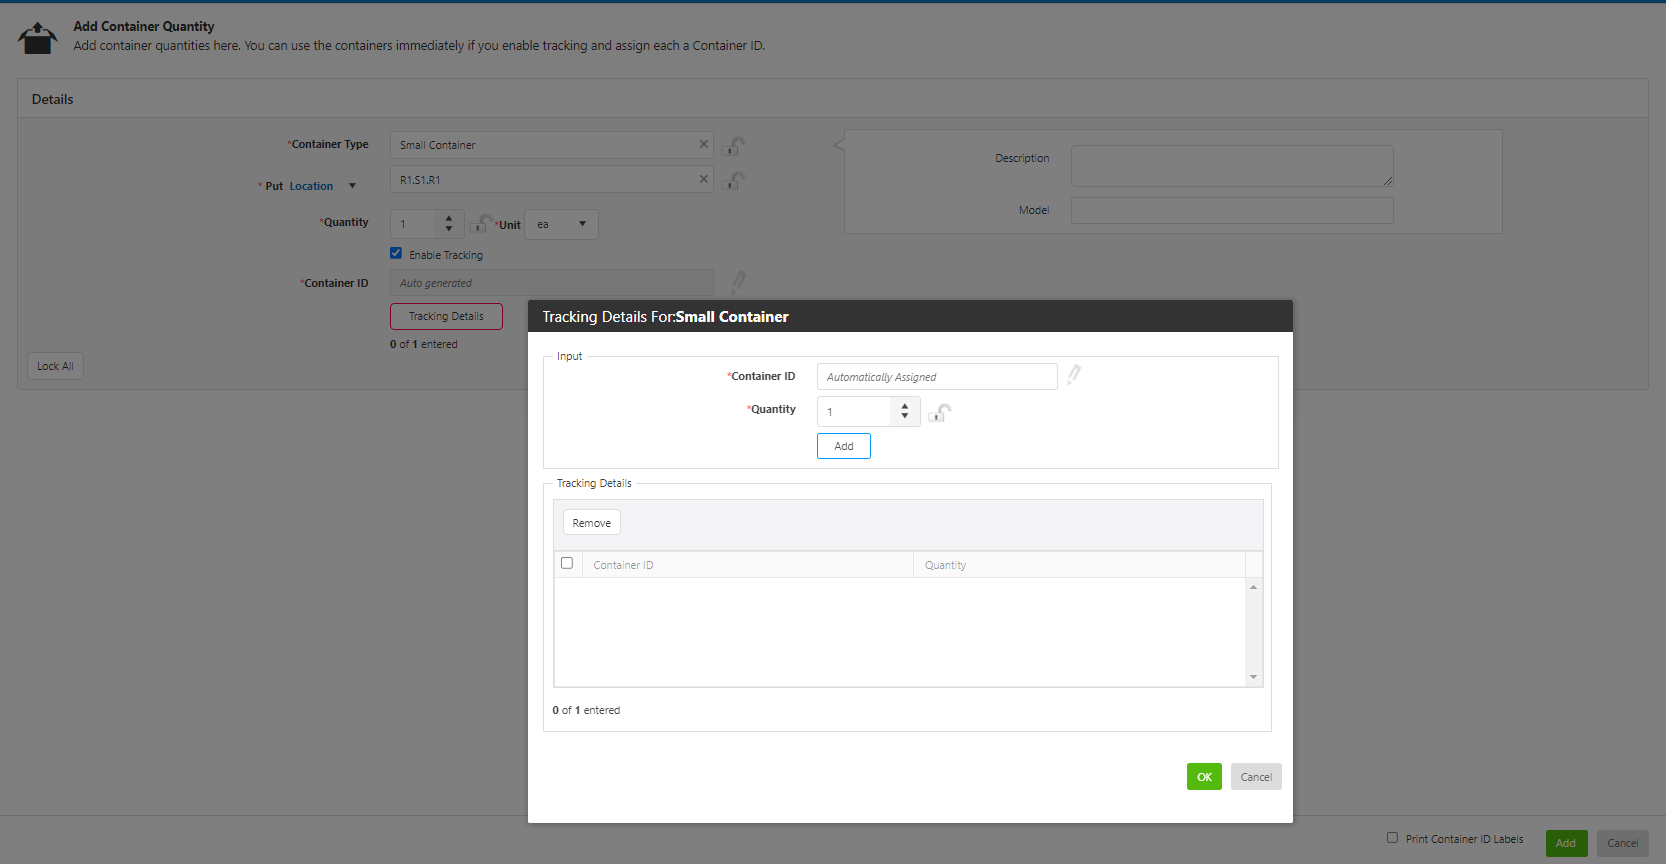
- Tracking Details - On the Tracking Details screen, add the following details:
- Container ID - Depending on the "Auto Generate Container ID" checkbox setting on the New Container Type screen, either autogenerate or enter the Container ID.
- Quantity - Specify the quantity. If you attempt to enter a quantity greater than what is specified in the quantity field on the Add Container Quantity screen, a message stating "Quantity exceeds the actual quantity" will be displayed.
- Click Add. The Container ID and quantity will be displayed in the bottom grid.
- You can use the Remove button to delete any entry.
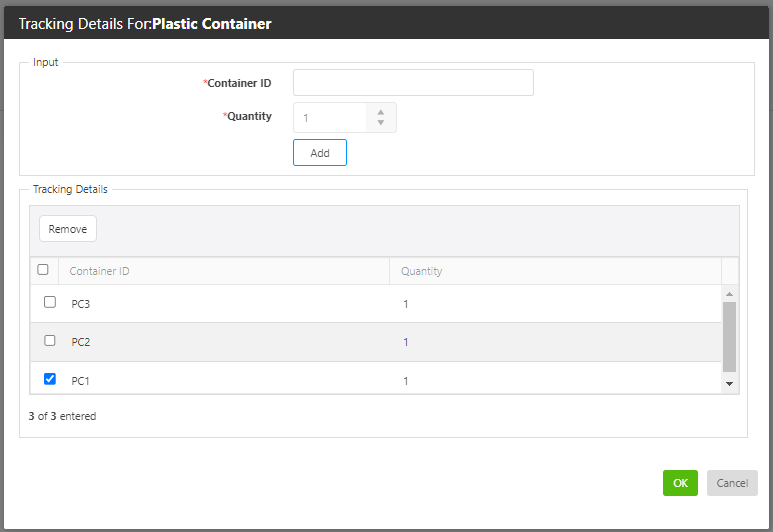
- Click OK. Use Cancel to discard them.
- Click on the Print Container ID Labels checkbox to generate labels. Note that the checkbox will be disabled if the "Enable Tracking" checkbox is disabled.
- Click Add to save the information. Or click Cancel to discard the changes.
- The labels will be generated upon clicking the Add button if the Print Container ID Labels checkbox is checked.
